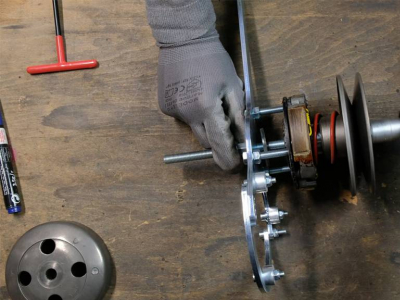
How to Fit, Set and Time an Inner Rotor Ignition on a Scooter?
This tutorial will explain how to perfectly fit, set and time an inner rotor ignition on a scooter such as MBK Booster, Nitro, Peugeot Trekker, Piaggio NRG..., using the Easyboost timing gauge. Whether it is an MVT DD, PVL Stage6, Bidalot, Most, MXS, Conti, Italkit Selettra, MHR, Artek, Doppler or Polini ignition, the procedure is exactly the same.
- Ratchet with sockets
Removing the original ignition
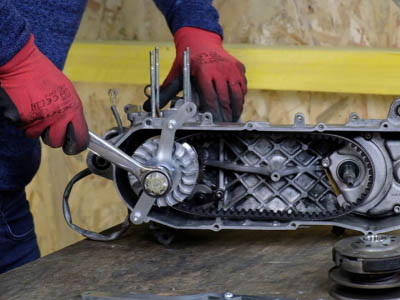
Using the Easyboost Universal Rotor Locking Tool, we can lock the rotor of the original ignition in order to loosen the nut with a ratchet and a 17 mm socket.
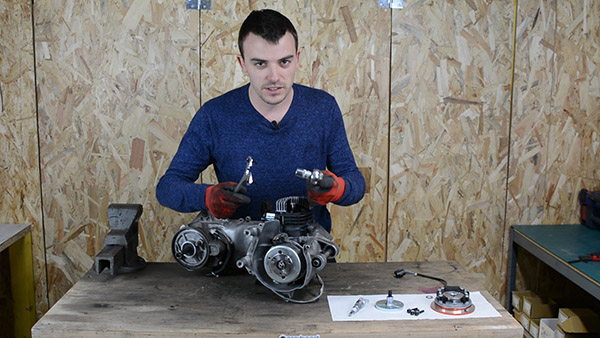
Then loosen the ignition nut in order to free the rotor.
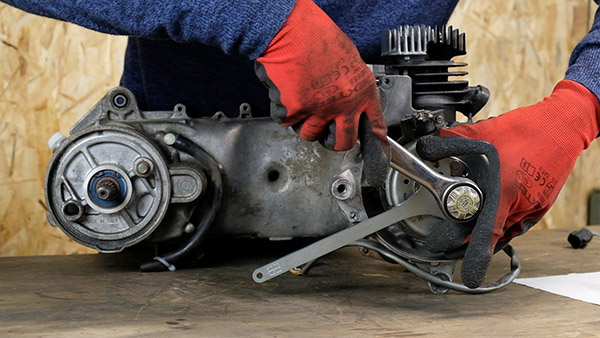
Removing the ignition rotor
Using the Easyboost universal flywheel puller, we can easily extract the ignition rotor.

All that remains is to take out the ignition stator by unscrewing the 2 screws holding the plate.
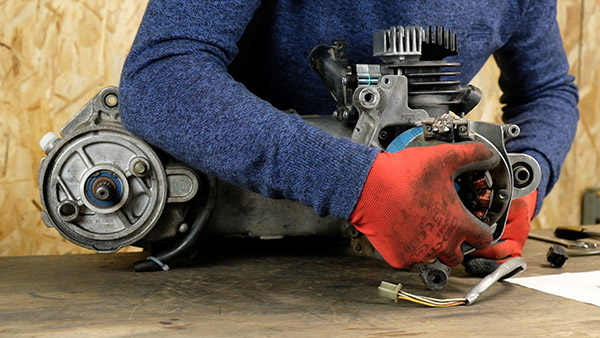
Fitting the PVL inner rotor ignition
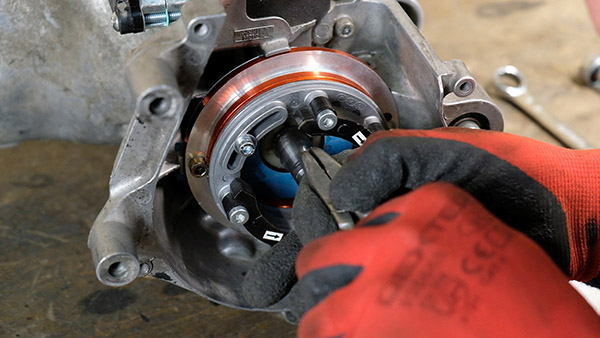
An ignition is made up of a plate, the stator, the ignition rotor, a CDI and a coil. We will now fit the ignition stator using the mounting plate supplied. The wiring is really simple, everything is detailed in each manual.
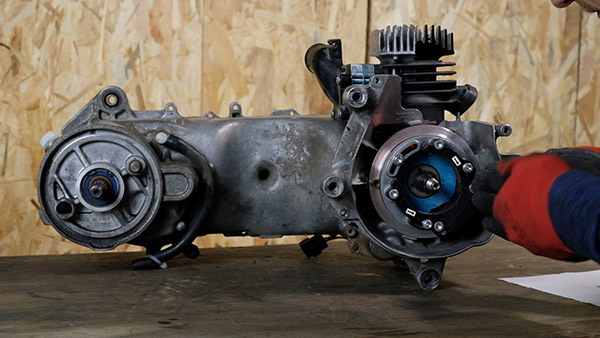
Some ignition rotors have a slot for the key, as you can see below. In that case, simply slide the ignition rotor onto the crankshaft with the key in place.
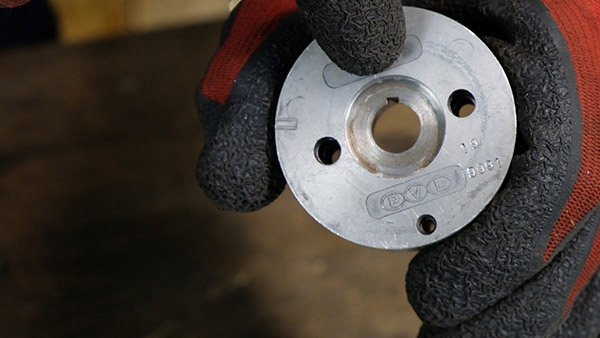
For the purposes of this tutorial, we will assume you have no slot for the key on the rotor. This means we will have to remove the key from the crankshaft.
Installing the Easyboost timing gauge
We can now fit the timing gauge in place of the spark plug.
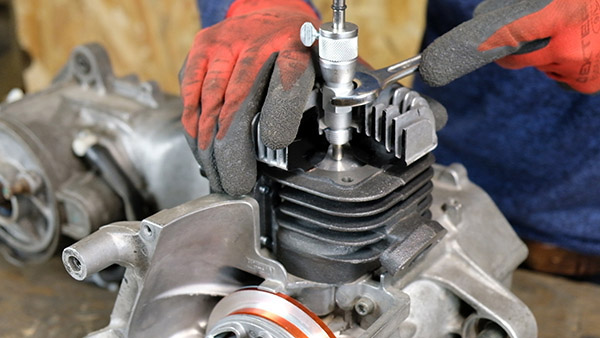
We now need to find top dead center (TDC). To do this, simply loosen the head of the gauge by about 3 or 4 turns.
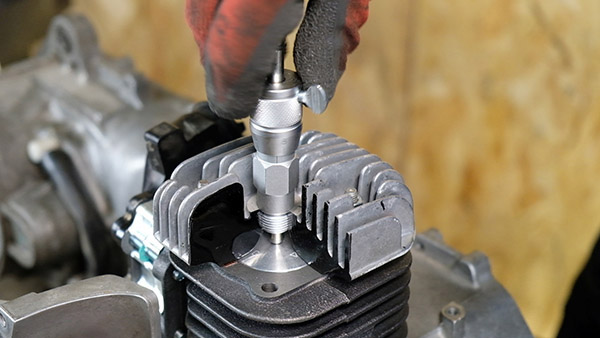
Then we align the zero mark on the head of the gauge with the single mark on the body of the gauge.
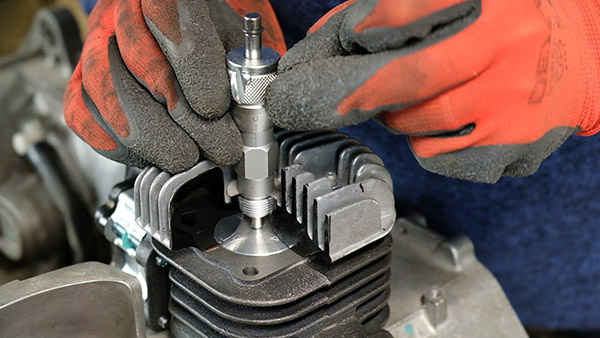
Then loosen the clamping screw so that the rod slides freely and reaches its lowest point.
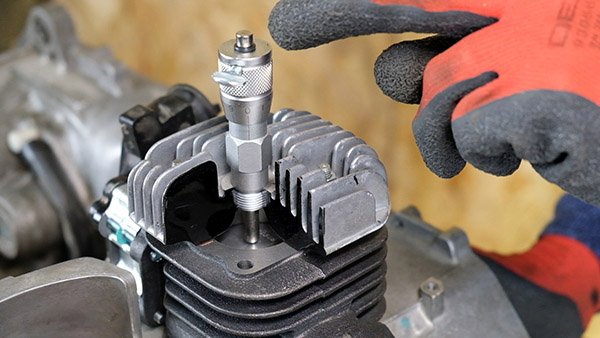
Then tighten the clamping screw again so that the rod slides with some resistance. Next, turn the crankshaft until the piston comes up against the rod and indicates top dead center (TDC).
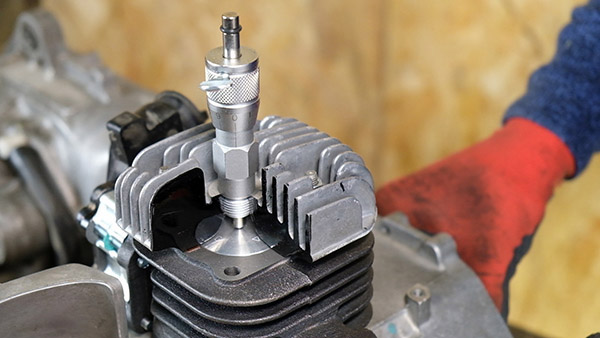
Timing the ignition according to the manufacturer's specification
On this type of ignition, the manufacturer specifies a timing of 3.2 mm before top dead center (TDC). Of course, this timing value depends on the ignition you own.
To find out the timing value, check the manual of your ignition. Now tighten the clamping screw fully. The next operation is to lower the rod of the timing gauge by 3.2 mm. This means turning the head of the gauge by 3 turns + 2 graduations.
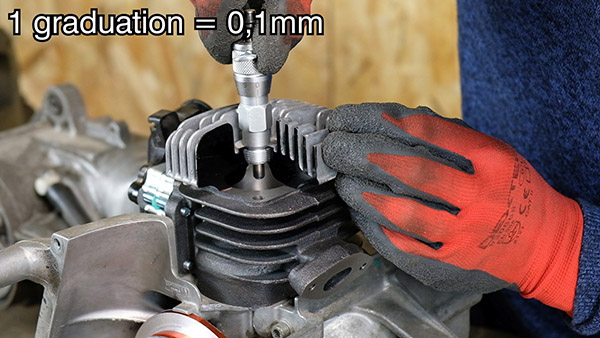
The rod is now lowered by 3.2 mm. We then turn the variator counterclockwise until the piston comes up against the rod. Thanks to the timing gauge, the piston is now 3.2 mm before top dead center.
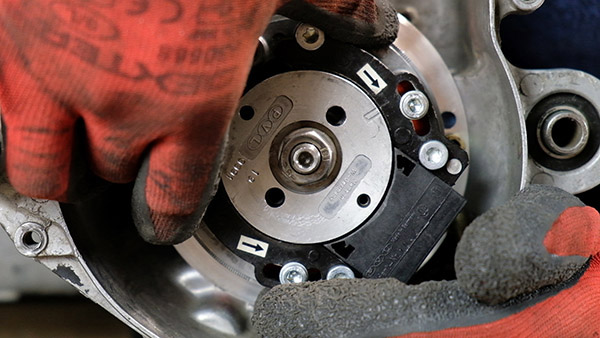
We can now fit the ignition rotor. The single mark on the rotor must line up with the mark on the stator. To know which mark to use, look at the arrow indicating the direction of rotation of the engine.
On a scooter engine, seen from the ignition side, the engine turns clockwise. In our case, we must therefore use the mark with the arrow turning clockwise.

We can now tighten the ignition nut with the Easyboost universal rotor locking tool.
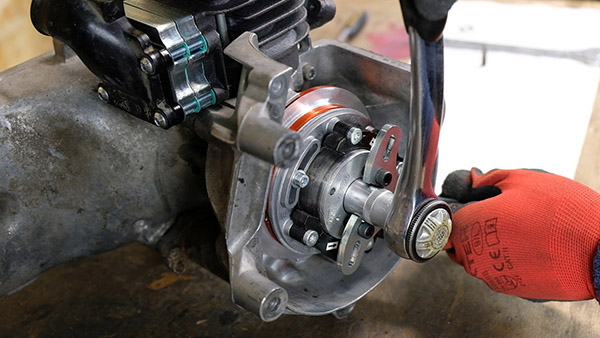
To refine the setting, repeat the timing operation and then adjust the stator using the 3 screws holding it on the plate.
VIDEO TUTORIAL
To go further, here is the video tutorial showing the timing of an inner rotor ignition on an MBK Booster engine: