How to remove and change the variator, belt and rollers on a GP 800 and SRV 850?
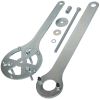
How to improve and increase the performance and acceleration of your Gilera GP 800 or Aprilia SRV 850? You need to get the Easyboost tool wrenches which are essential for dismantling the transmission of your maxiscooter. You will then be able to easily change the rollers, the variator, the belt, the clutch, the clutch springs and the torque spring.
- Ratchet or torque wrench with sockets
- 27mm open-end wrench
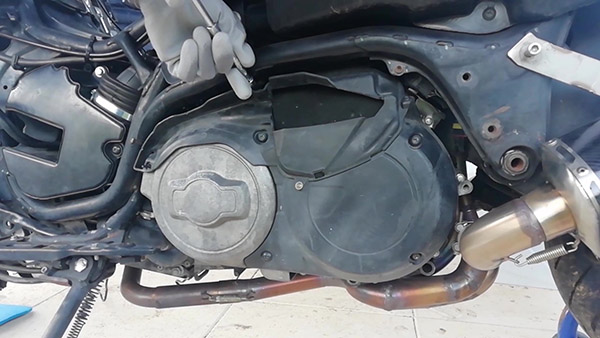
Removing the air filter from the variator cover
After removing all the fairings to gain access to the variator cover, unscrew all the fixing screws of the small air filter.
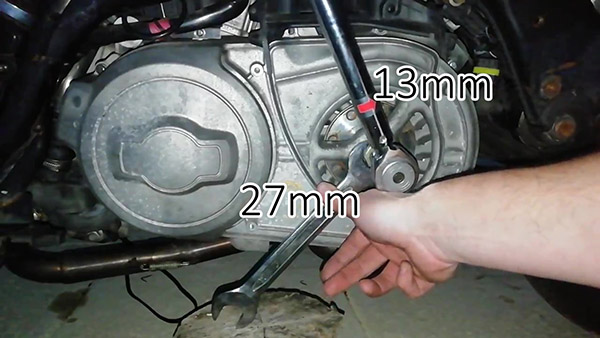
Unscrewing the torque driver nut
In order to free the variator cover, the torque driver nut must first be loosened. To do this, lock the shaft in rotation using a 13mm wrench and loosen the nut with a 27mm wrench.
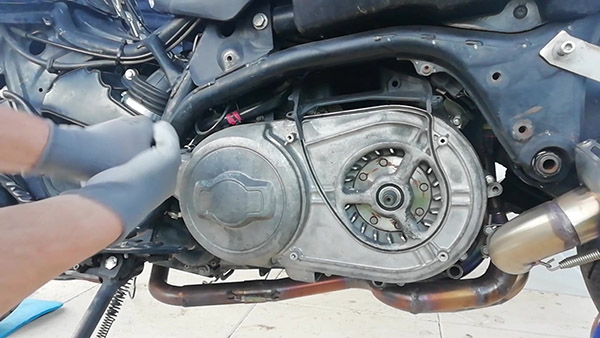
Unscrewing the variator cover screws
The cover can now be removed by unscrewing all the screws that hold it in place.
Loosening the variator nut on the Gilera GP 800 or Aprilia SRV 850
The variator nut can be loosened using a ratchet fitted with a 32 socket and the Easyboost wrench. If necessary, the handle of the wrench can be extended with a long tube to apply more torque.
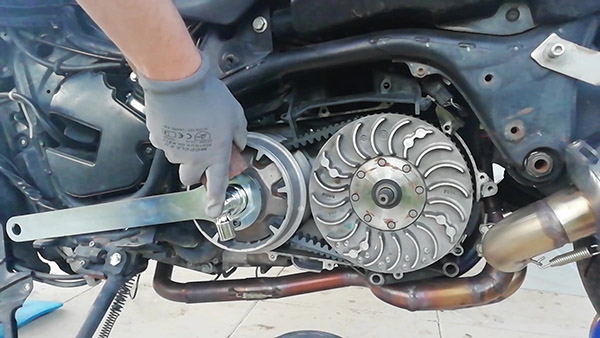
Removing the variator from the Gilera GP 800 or Aprilia SRV 850
The variator can now come out easily, along with the variator cap, the rollers and the hub.
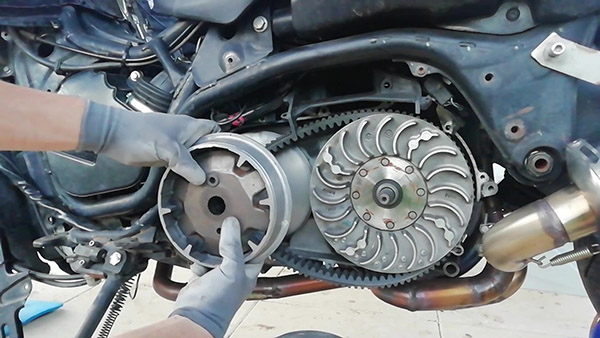
Taking out the torque driver-clutch and removing the belt from the Gilera GP 800 or Aprilia SRV 850
Next, take out the torque driver-clutch-belt assembly. The belt comes off the torque driver easily.
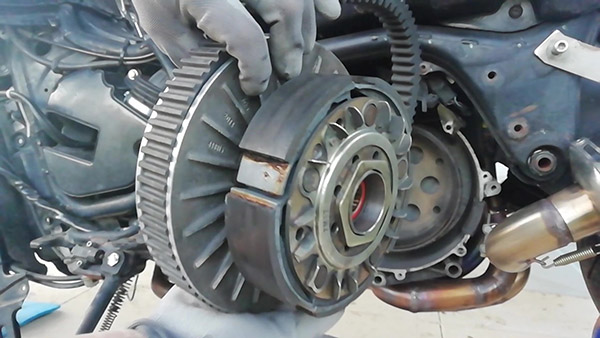
Loosening the clutch nut
Before loosening the clutch nut, mark a reference line with a felt pen so that it can be retightened to its original position. To easily remove the clutch nut, you will need to use the Easyboost tools. Start by loosening the clutch nut by 1/4 turn using the Easyboost holding wrench and the open-end wrench, striking a few sharp blows with a mallet.
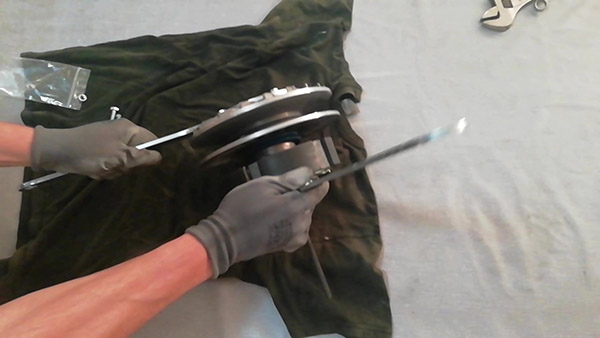
Setting up the tool to release the clutch nut
Once the nut is unlocked, fit the torque spring removal tool following the instructions in the manual. This operation will release the clutch nut by applying slight pressure on the torque spring. Be careful, as the clutch is already at its stop, do not try to compress the spring any further.
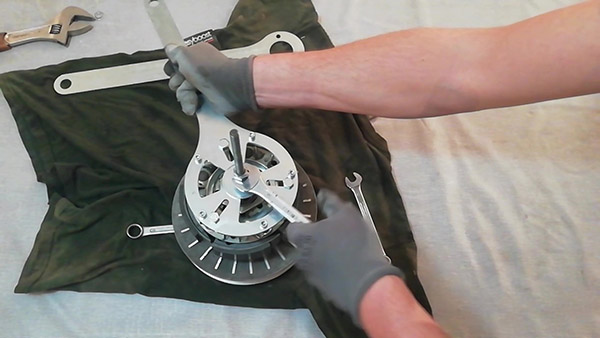
Removing the clutch nut
The nut can now be removed by hand as the clutch is no longer applying pressure on it.
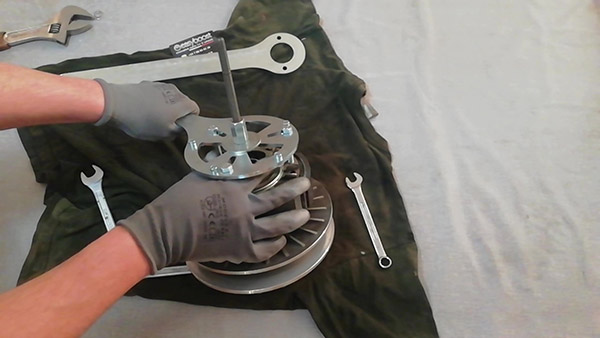
Releasing the torque spring
All that remains is to unscrew the shaft nut to gradually release the spring safely.
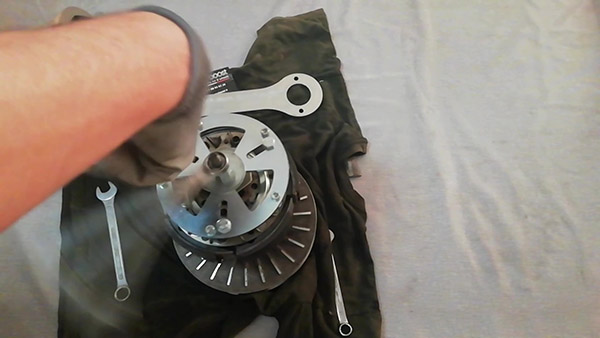
Changing the torque spring
The spring is removed; it can now be replaced with a new and/or stiffer model to increase torque and pick-up.
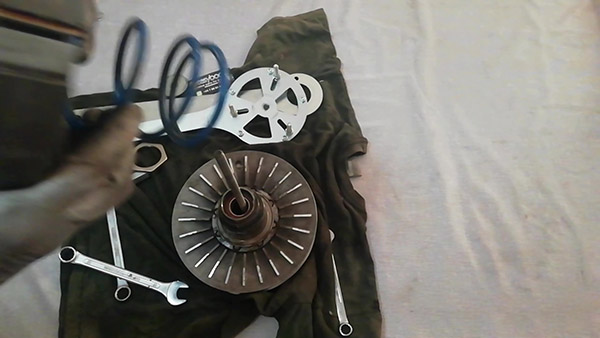
Compressing the torque spring
For reassembly, repeat the operation in reverse order. Fit the tool back in place in order to compress the torque spring.
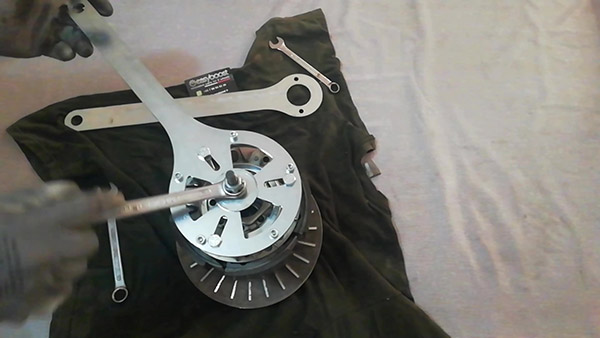
Fitting the clutch nut
Once the spring is compressed, the clutch nut can be put back in place by hand.
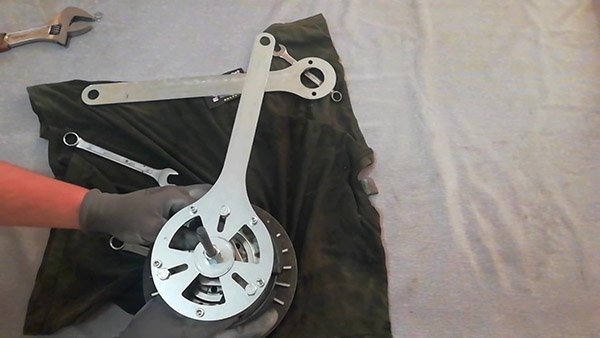
Tightening the clutch nut
Repeat the same procedure as for removal, fitting the torque driver holding tool. Using the open-end wrench, tighten the clutch nut until the previously drawn reference marks are aligned.
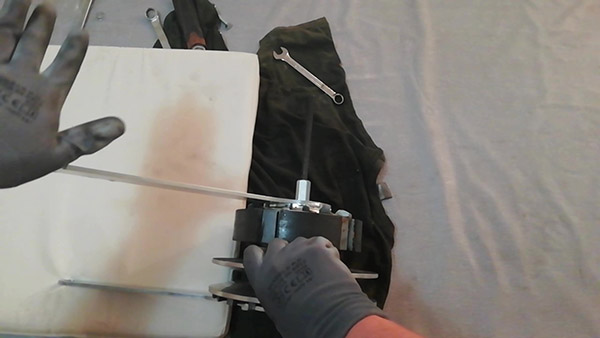
Opening the torque driver to insert the belt
To make fitting the variator easier later on, the belt must first be slightly inserted into the torque driver. To do this, wooden wedges can be used to open it up.
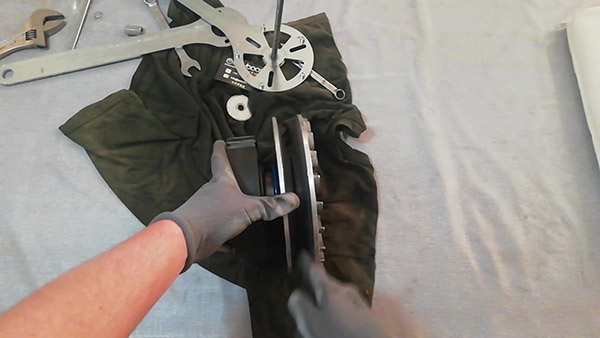
Fitting the torque driver with the belt
Fit the torque driver, equipped with the belt, onto its shaft.
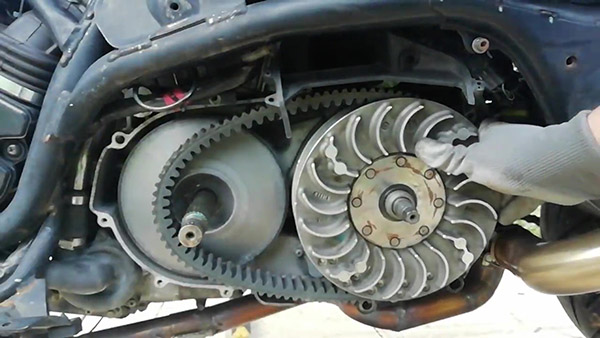
Tightening the variator nut to the torque recommended by the manufacturer
The variator nut must be retightened to a torque of 265 Nm +/- 13 Nm using the Easyboost holding wrench and a torque wrench fitted with a 32 socket.
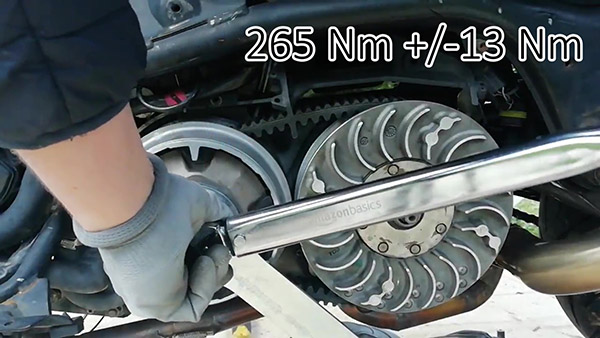
Tightening the torque driver nut to the torque recommended by the manufacturer
After refitting the variator cover, the torque driver nut can be tightened to 170 Nm +/- 17 Nm.
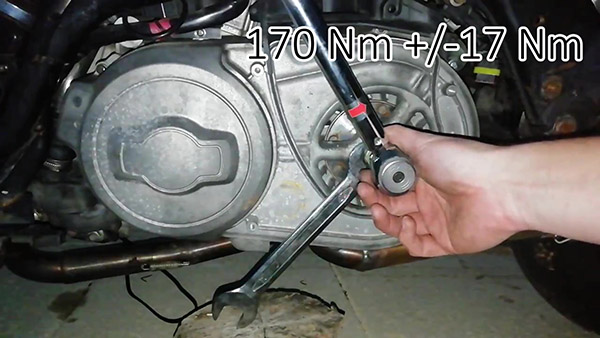
Tightening the cover screws and reassembling everything
All that remains is to screw back all the variator cover screws and refit the fairings.
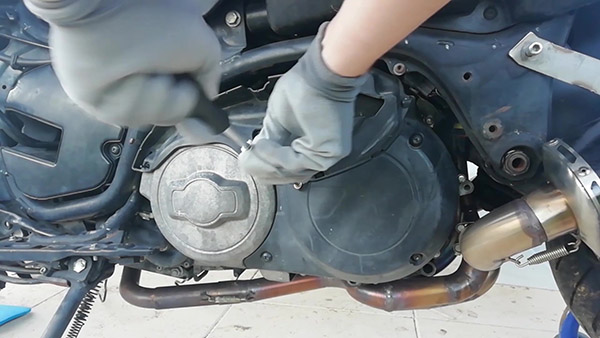
For more details, we invite you to watch the YouTube tutorial video made by one of our customers: