How to change the crankshaft and bearings on a 50cc Piaggio scooter?
In this tutorial, we will see how to easily change the crankshaft and bearings on a 50cc Piaggio-type scooter such as Typhoon, NRG, Runner, Zip etc. Tutorial available in video format.
Required tools:
- Screwdriver
- Thick grease
- Ratchet with sockets
Removing the clutch bell-clutch-torque driver assembly
We start by removing the clutch bell using the Easyboost 4-in-1 clutch tool.
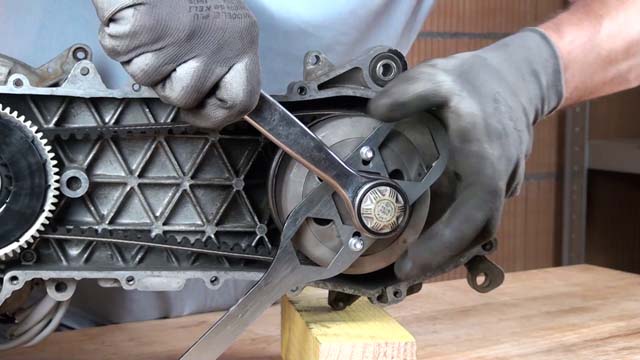
Removing the variator 1 of 2
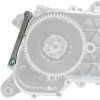
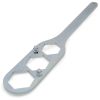
We install the Easyboost variator holding tool for Piaggio on the crankcase so we can lock the fixed pulley half and loosen the nut.
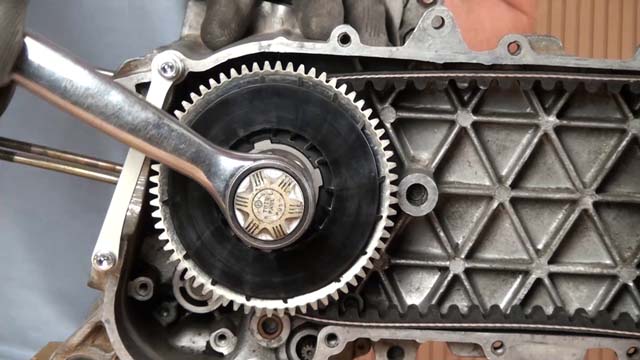
Removing the variator 2 of 2
We remove the variator, the bushing, the rollers, the spacer behind the variator, as well as the oil pump gear.
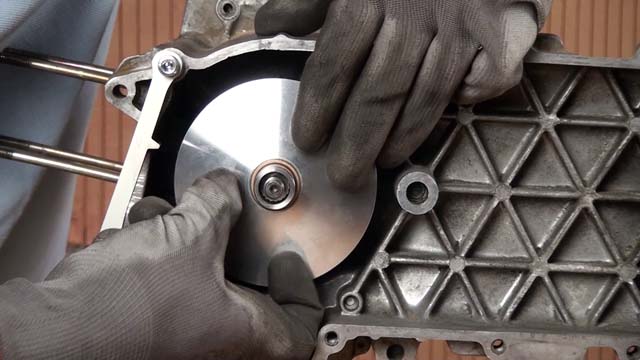
Removing the ignition rotor 1 of 2
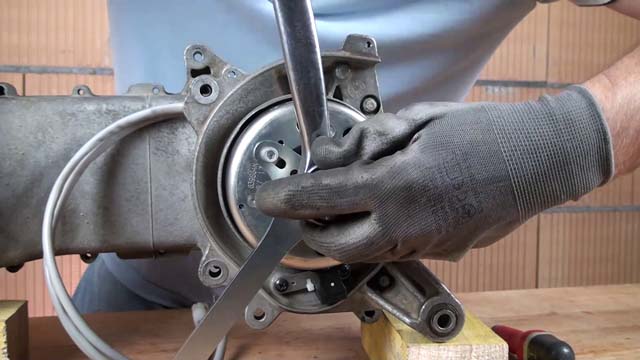
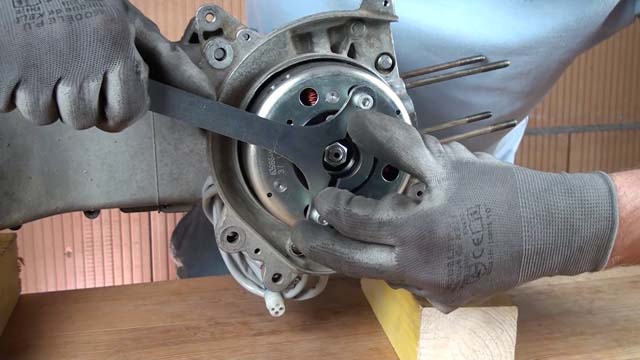
We lock the ignition rotor using the Easyboost rotor holding tool. Then, using a ratchet, we loosen the ignition nut.
Removing the ignition rotor 2 of 2
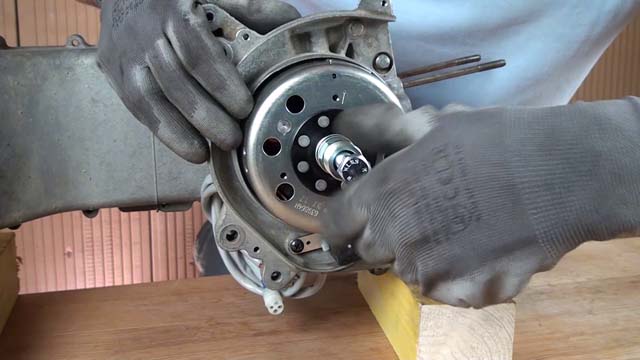
Using the Easyboost M24/M26 flywheel puller, we can extract the ignition rotor without difficulty.
Removing the ignition stator
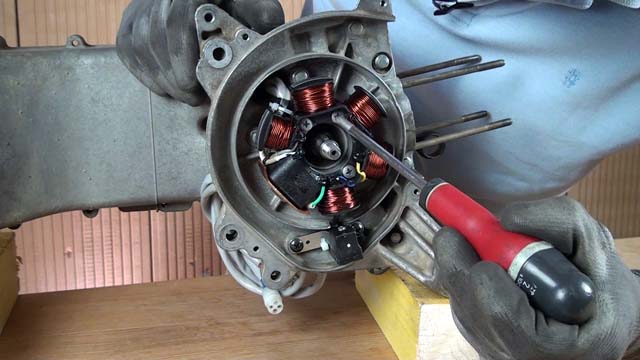
Using a screwdriver, we unscrew the 3 stator screws as well as the 2 screws of the "pick-up" unit.
Removing the electric starter
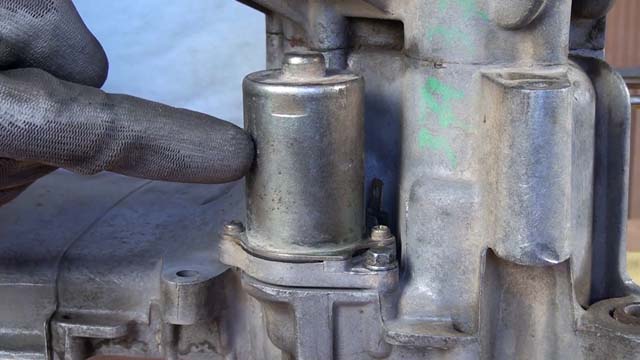
Using a ratchet and an 8 mm socket, we can remove the electric starter.
Removing the crankcase screws
We unscrew the 8 crankcase assembly screws.
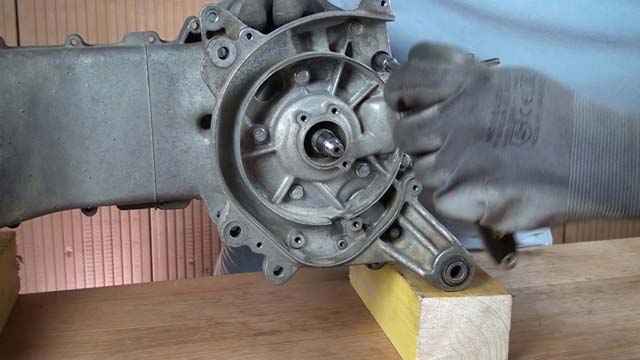
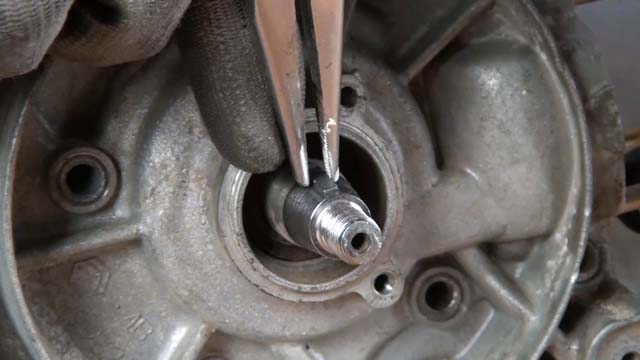
Removing the ignition key (woodruff key)
Before separating the crankcases, we must not forget to remove the ignition woodruff key using pliers.
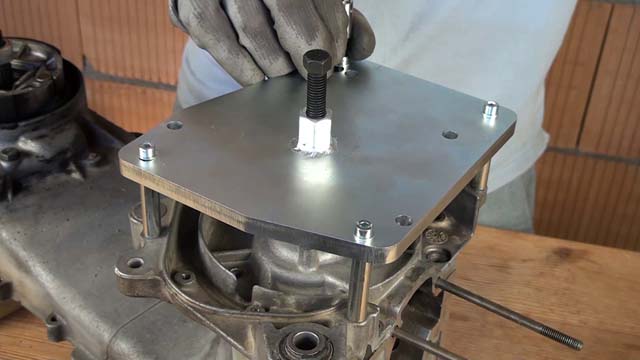
Setting up the Easyboost crankcase separator for Piaggio on the ignition side
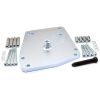
To separate the crankcases without damaging them, we install the Easyboost crankcase separator on the ignition side to start with.
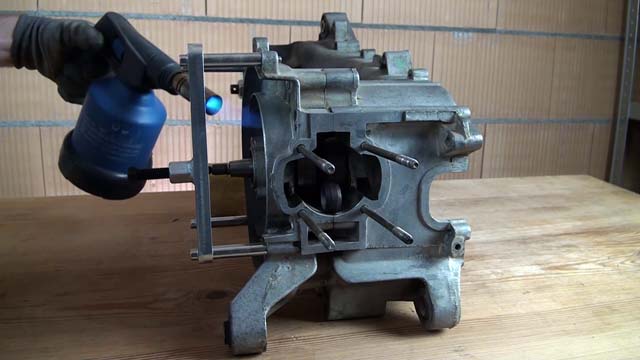
Heating up the crankcase
Using a heat gun or a blowtorch (gas), we heat the crankcase on the ignition side (for +/- 1 min) in order to expand the crankshaft bearing housing.
Separating the crankcases
Without waiting, we tighten the central screw of the separator, so as to gradually separate the engine crankcases.
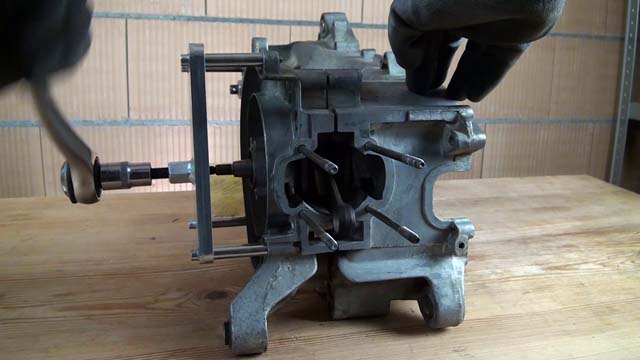
Setting up the Easyboost crankcase separator for Piaggio on the variator side
We repeat the same operation for the variator side, by installing the Easyboost crankcase separator.
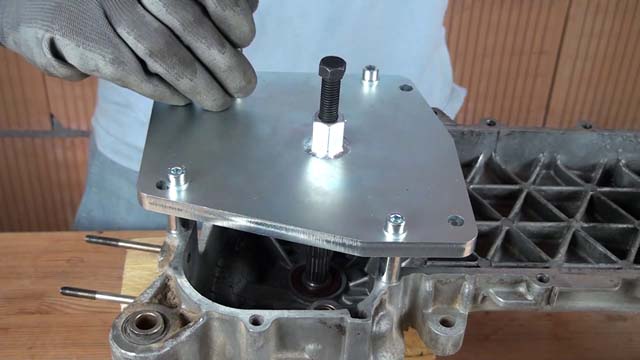
Heating up the crankcase
We heat the variator crankcase, just as previously done for the ignition side crankcase.
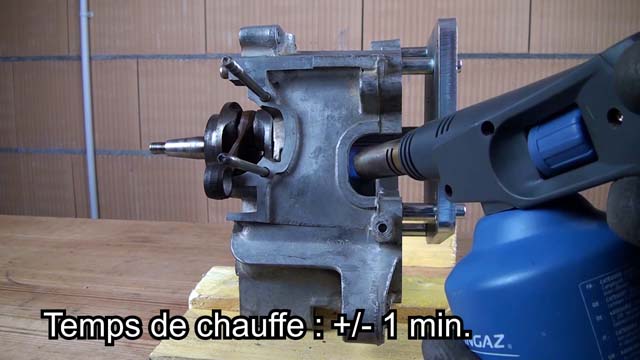
Extracting the crankshaft
We tighten the central screw of the separator, so as to remove the crankshaft from the variator side crankcase.
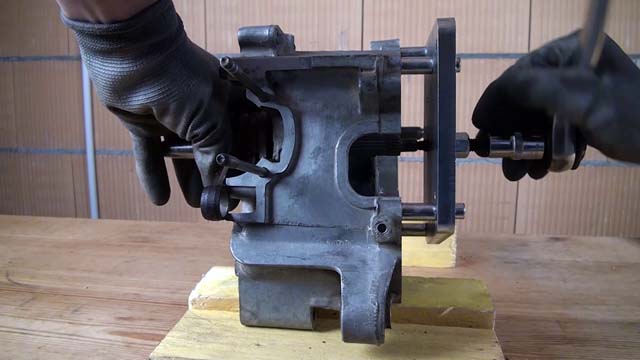
Extracting the oil seal on the variator side
Using a flat screwdriver and a mallet, we extract the oil seal by tapping on the screwdriver.
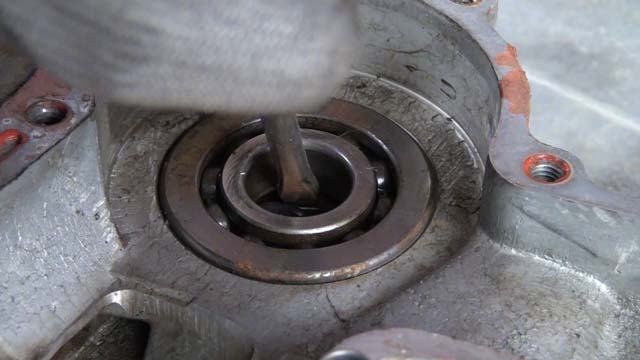
Extracting the oil seal on the ignition side
Using a socket fitted with an extension bar, and a mallet, we extract the oil seal by tapping on the extension bar.
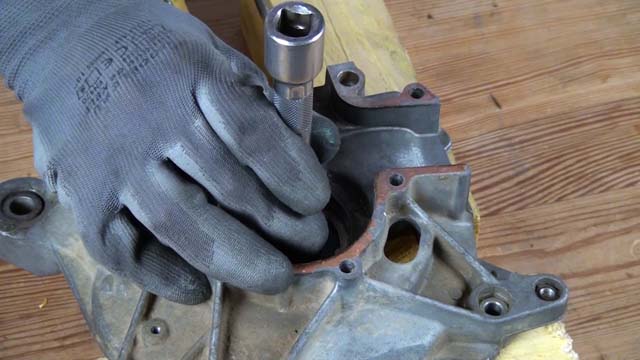
Extracting the crankshaft bearing from the crankcase
When a crankshaft bearing remains in place in the crankcase, a bearing puller must be used so as not to damage the crankcase.
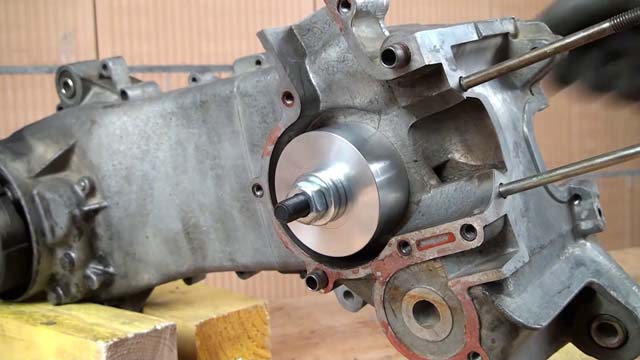
Heating up the crankcase
We heat the crankcase again (+/- 1 min.) in order to expand the bearing housing.
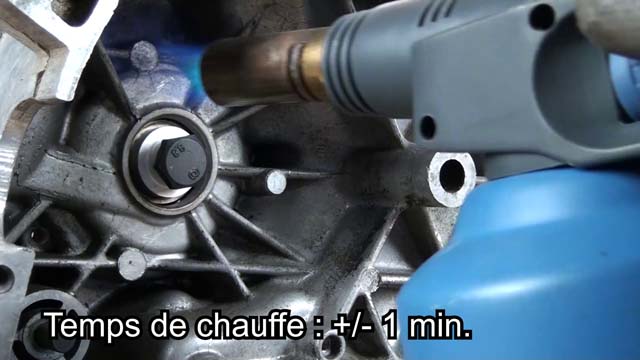
Extracting the bearing
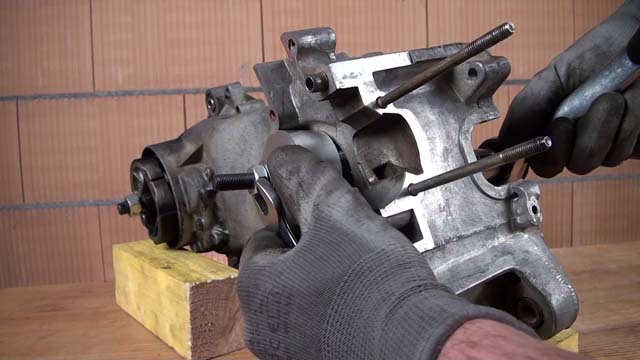
All that remains is to tighten the central screw to allow the extraction of the bearing, without difficulty.
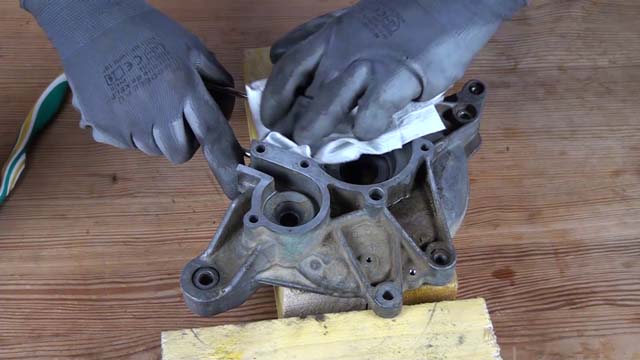
Cleaning the engine crankcases
Using a sponge, acetone and brake cleaner, we clean the crankcase thoroughly, so as to leave no residue.
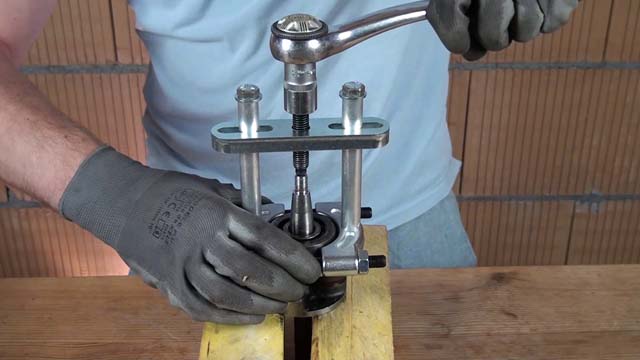
Extracting the bearing remaining in place on the crankshaft
In case the bearing remains in place on the crankshaft, simply use the Easyboost 2-in-1 bearing puller so it can be extracted without difficulty.
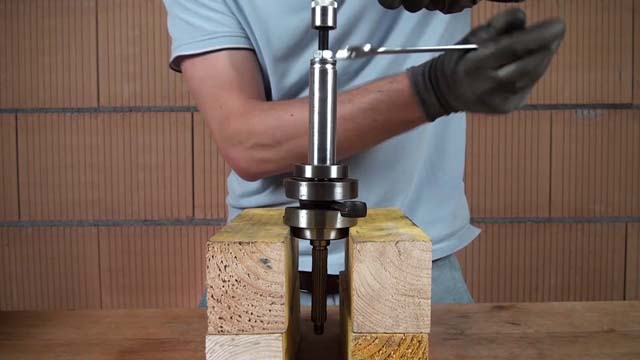
Changing the crankshaft bearings
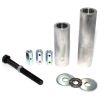
At this stage, we can change either the crankshaft, or only the crankshaft bearings. In this tutorial, we are only going to replace the crankshaft bearings. To do this, the Easyboost bearing fitting tool must be used.
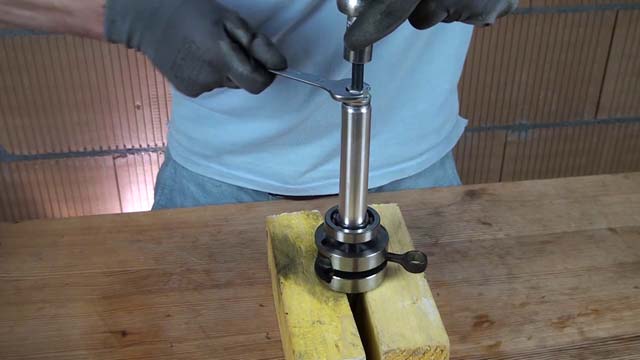
Fitting the bearing on the ignition side
We repeat the same operation for the ignition side, using the Easyboost bearing fitting tool. Fitting the bearing on the crankshaft is done (almost) effortlessly!
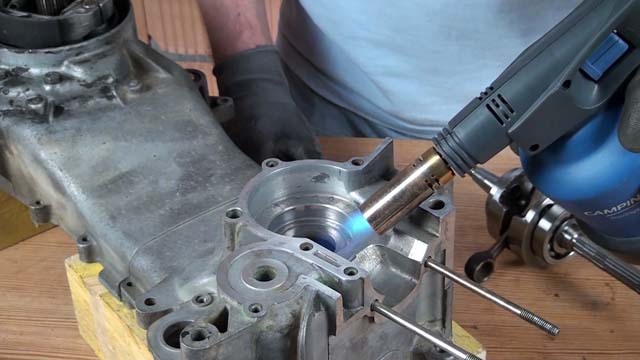
Heating up the crankcase
We heat the crankcase again to allow the bearing to be fitted without forcing.
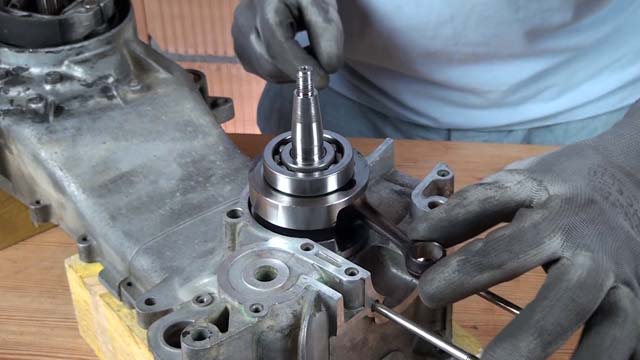
Installing the crankshaft on the variator side
Once the crankcase is well heated, we can insert the crankshaft into its housing. The bearing should "drop" to the bottom of its housing without having to force, due to the expansion of its housing.
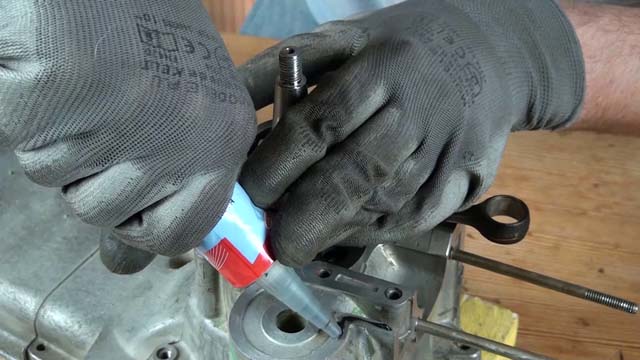
Applying the gasket sealant
We apply a bead of gasket sealant and spread it so as to leave only a thin film.
Heating up the crankcase
This time we heat the ignition side in order to expand the bearing housing.
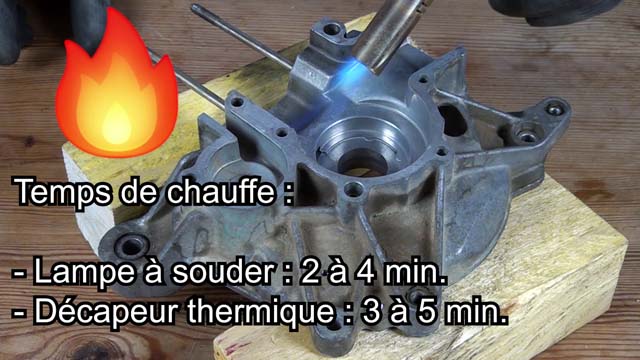
Fitting the crankcase on the ignition side
Without waiting, we fit the ignition side crankcase onto the variator side crankcase. It fits into place without difficulty.
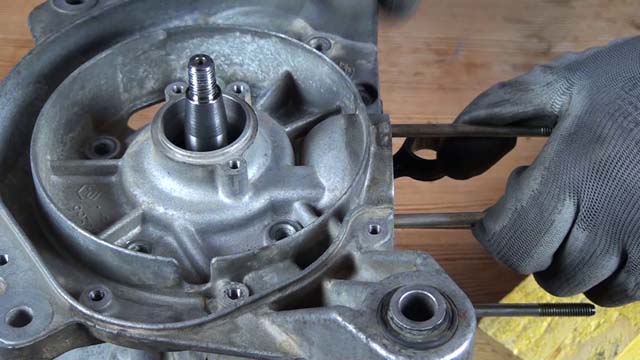
Tightening the 8 crankcase screws
We refit the 8 crankcase screws, making sure to tighten them in a cross pattern.
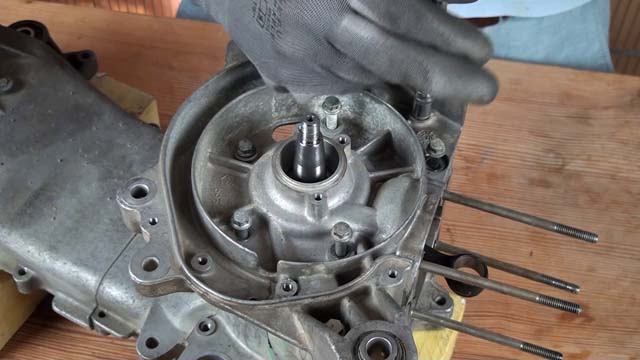
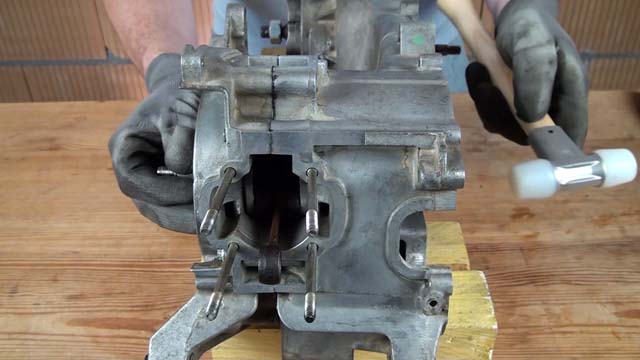
Freeing the crankshaft
It may happen that the crankshaft does not turn freely after tightening the crankcase screws. If this is the case, simply tap on each side with a mallet to free it.
Installing the ignition oil seal
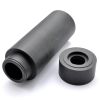
To install the oil seal on the ignition side correctly and without difficulty, you need the Easyboost oil seal fitting tool. It allows you to place the oil seal exactly as it was originally, thanks to very precise machining.
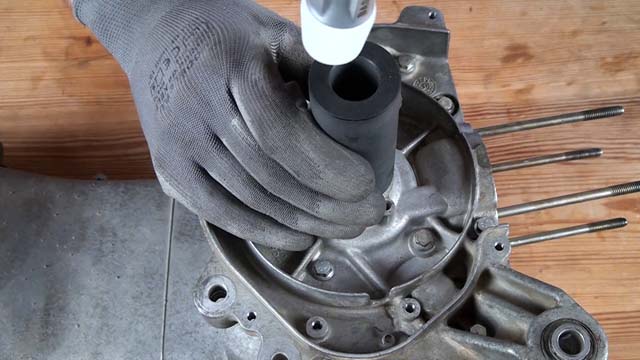
Installing the variator oil seal
We repeat the same operation for the variator side, using the Easyboost oil seal fitting tool.
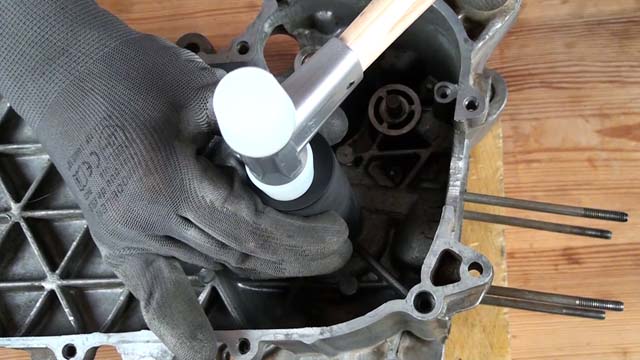
Refitting the ignition stator
All that remains is to refit the various engine components. We start by refitting the ignition stator…
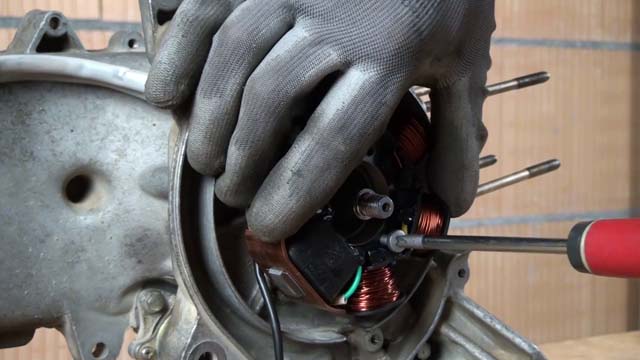
Refitting the woodruff key
…then the woodruff key on the crankshaft.
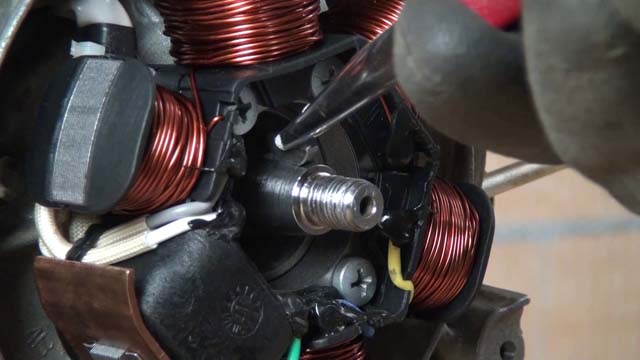
Refitting the ignition rotor and the electric starter
We then refit the ignition rotor using the Easyboost rotor holding tool, then the electric starter.