How to change the crankshaft on scooter 50 MBK Booster Nitro Peugeot Piaggio
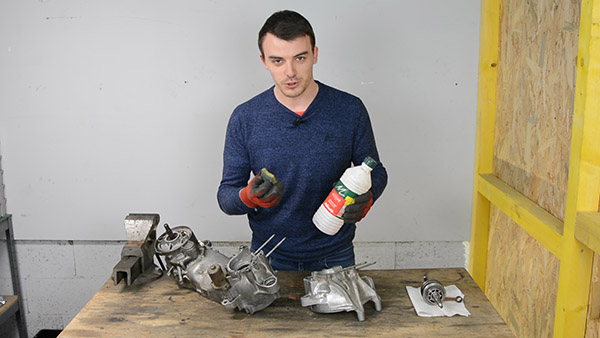
In this tutorial we will see how to easily change the crankshaft on a 50cc scooter like MBK Booster, Nitro, Stunt, Peugeot Trekker, Piaggio Typhoon etc. This tutorial is also available in video format.
- Thick grease
- Ratchet with sockets
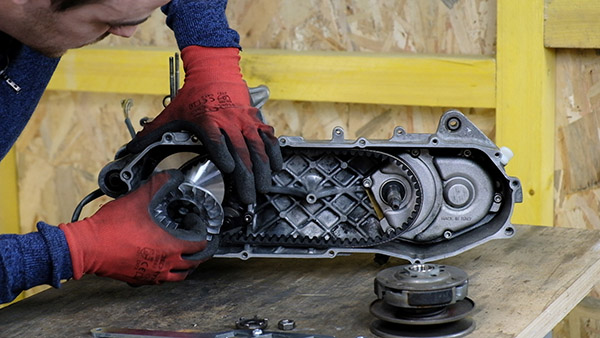
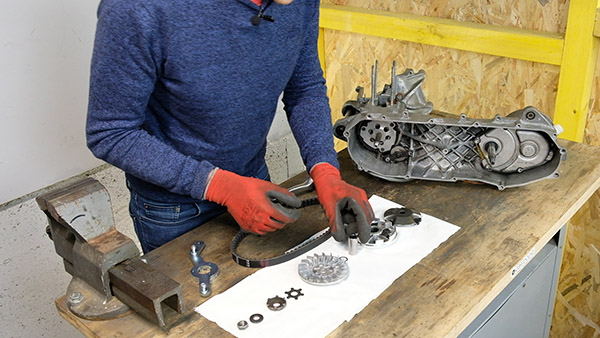
Dismantling of the clutch bell, clutch, torque drive
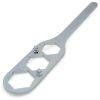
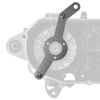
First we will dismantle the clutch bell. For this we need the Easyboost clutch holding tool and a ratchet.
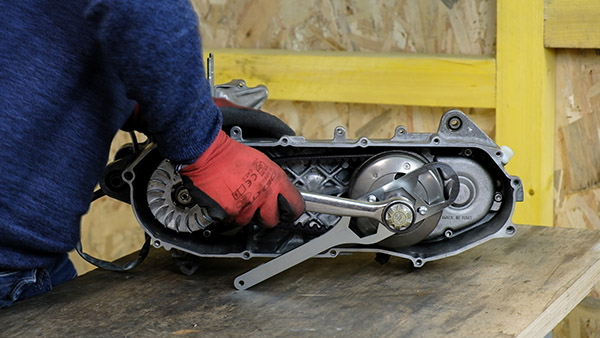
The clutch bell is then dismantled to remove the torque corrector-drive assembly.

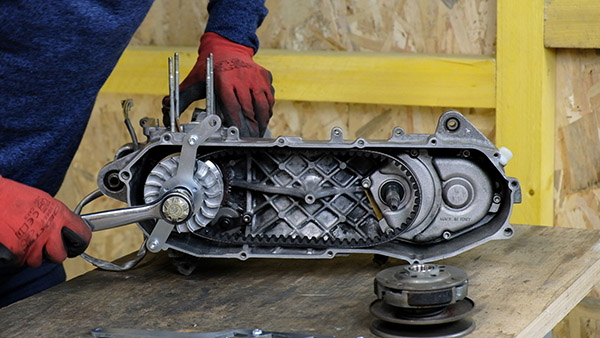
Removing the variator
In order to dismantle the variator, we use the Easyboost variator holding tool. This is delivered with 2 screws to correctly position the tool.
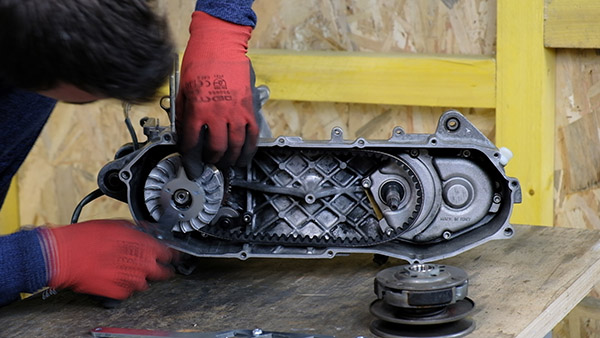
Using a ratchet with a 17 socket, the variator nut is loosened.
The ventilated pulley - variator - rollers - variator cap assembly can now be removed.
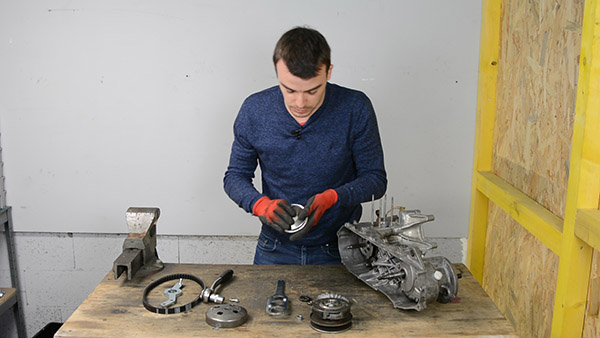
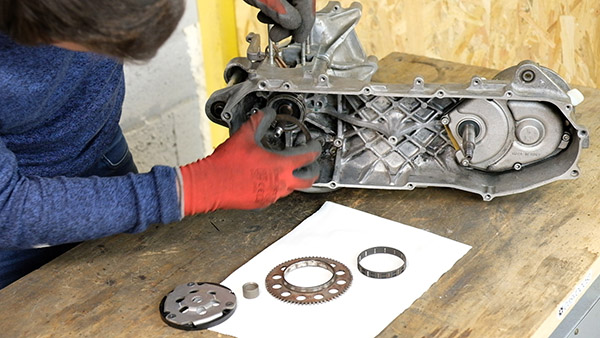
The dismantled components of the variator housing are as follows
After removing the electric starter clutch, the 2 BTR screws holding the electric starter gear can be unscrewed.
The electric starter's freewheel comes by itself. Don't forget the variator spacer that is hidden behind it.
Removing the ignition
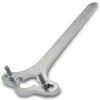
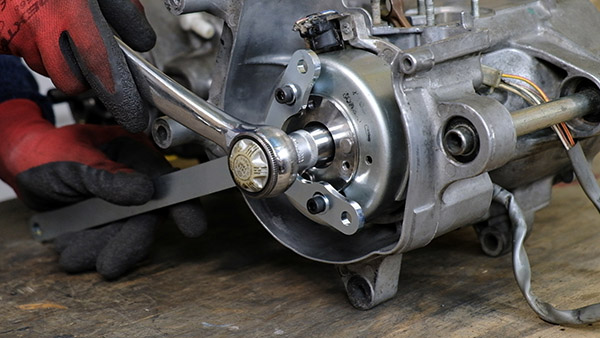
The ignition nut on the crankshaft is loosened using the Easyboost ignition holding tool and a ratchet with a 17 mm socket.
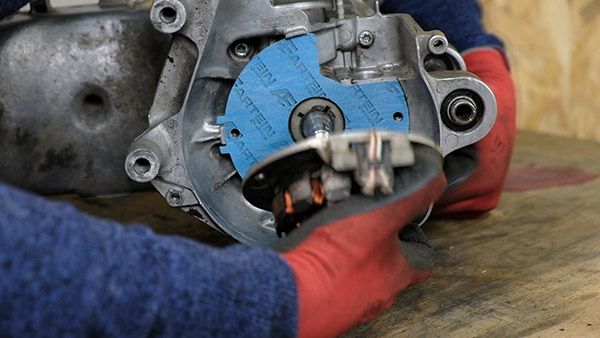
The Easyboost universal flywheel puller is then placed on the rotor so that it can be extracted.">

By tightening the central screw, it will press on the end of the crankshaft and release the rotor. The rotor, the ignition stator and the seal can then be removed.
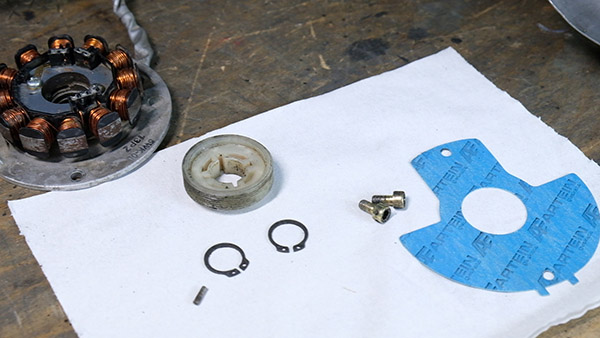
Using circlip pliers, the circlip, the oil pump driver and the 2nd circlip just behind are removed.
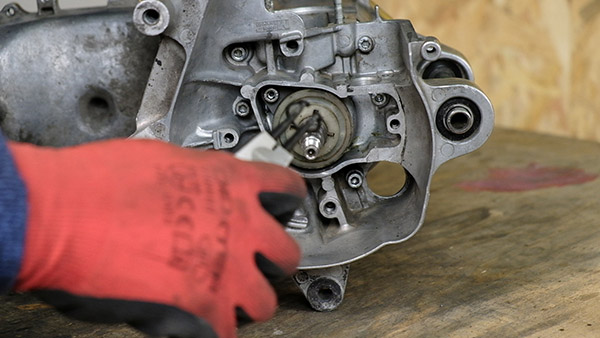
Care is taken not to lose the pawn of the oil pump driver.
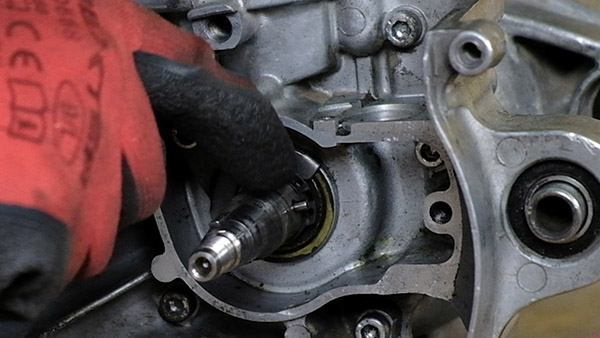
Using an Allen key, remove the screw that holds the retaining lug of the oil seal.
Dismantle the engine crankcases
Again with the Allen key, the screws holding the ignition side housing and the variator side housing together are unscrewed.
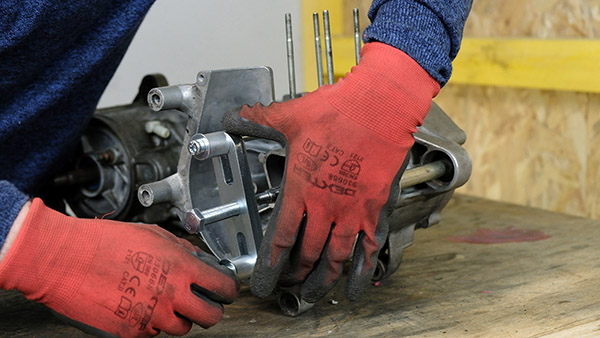
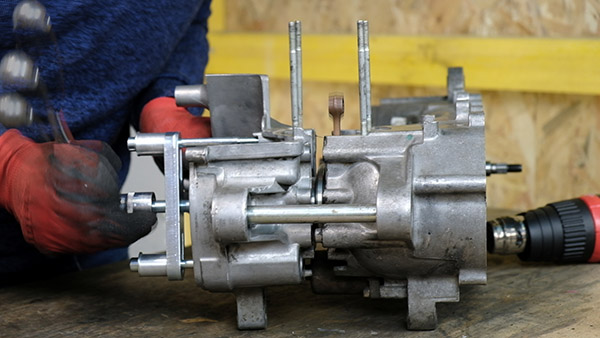
In order to be able to separate the housings without damaging them, the Easyboost bearing puller is required. The 2 screws are inserted into the threaded holes provided for this purpose, then the clamps are balanced so that it is correctly positioned.
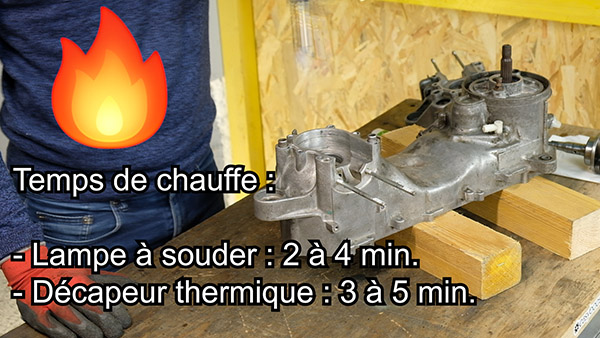
The housing is then heated for +/- 1min. in order to expand it using a heat gun or gas lamp.
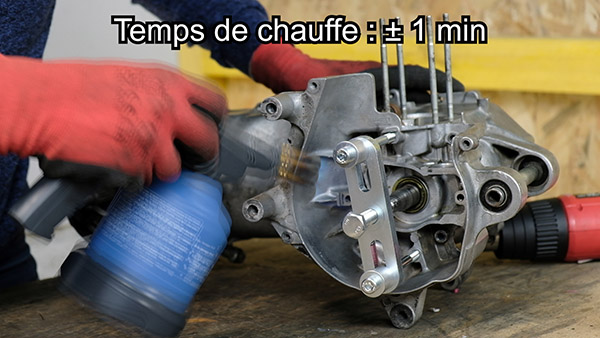
All that remains to be done is to tighten the central screw of the Easyboost housing separator. The housings will then gradually separate.
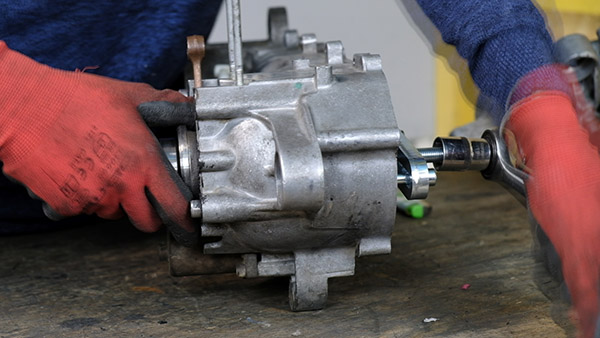
This is done in exactly the same way for the other side. The housing separator is placed in the spaces provided and the housing is then heated with the gas lamp or a heat gun.

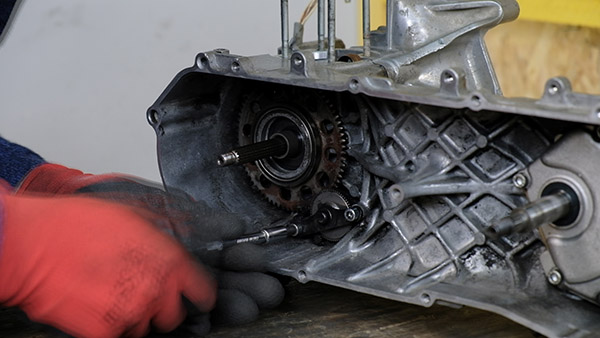
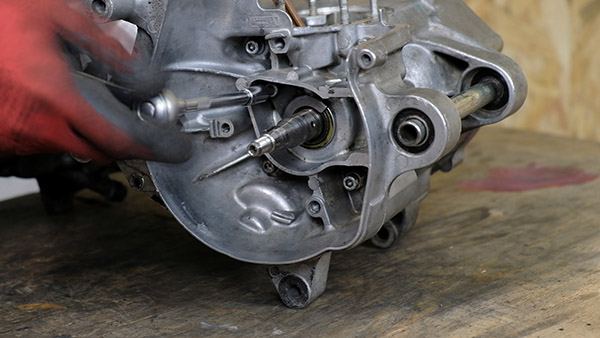
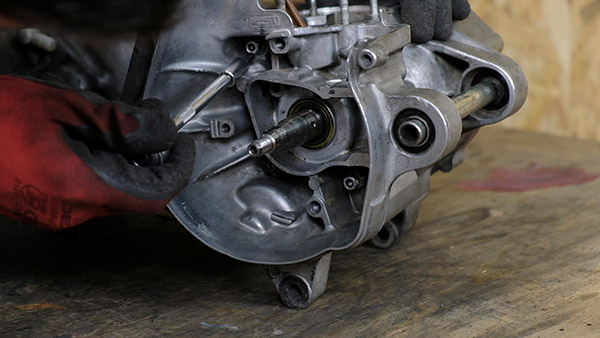
By tightening the central screw of the crankcase separator, the crankshaft gradually separates from its housing.
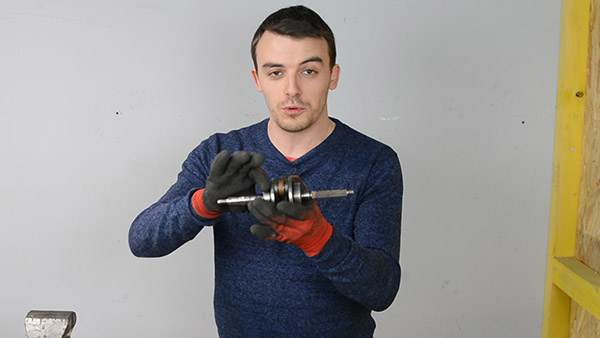
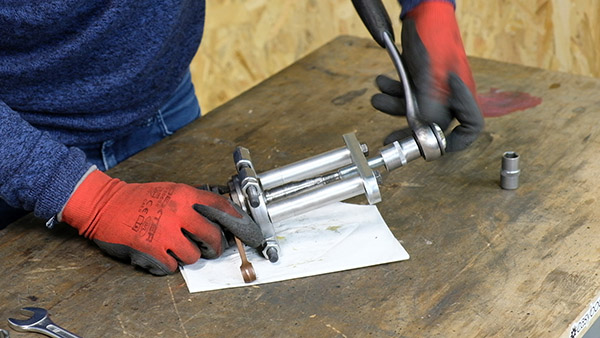
Dismantle crankshaft bearings
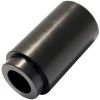
In the majority of cases, the bearings remain in place on the crankshaft during disassembly. In this case, they will have to be removed using the Easyboost bearing remover.
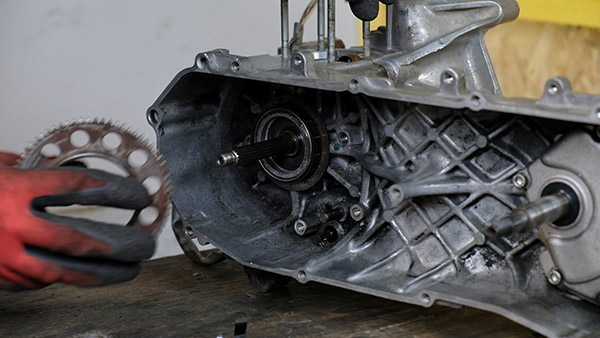
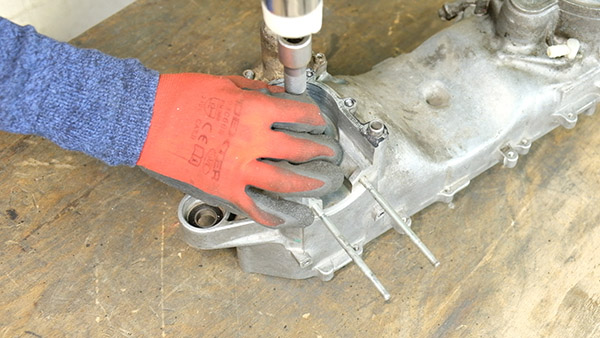
If the bearing remains in place in the housing, all that is required is a bush of the correct diameter and a sharp knock to extract it.
The procedure is identical for the drive side.
A trickle of grease is applied to both sides of the bearing remover to facilitate the removal of the crankshaft bearings.
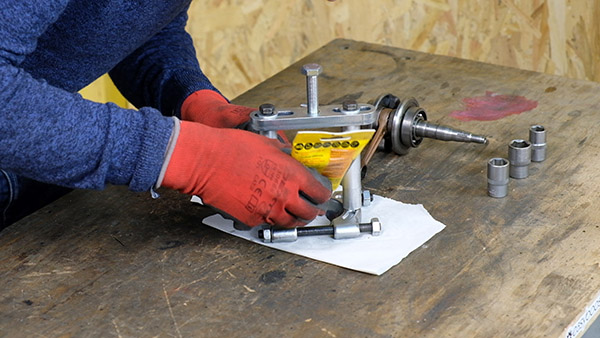
The grease is applied to the rear side of the Easyboost bearing remover.
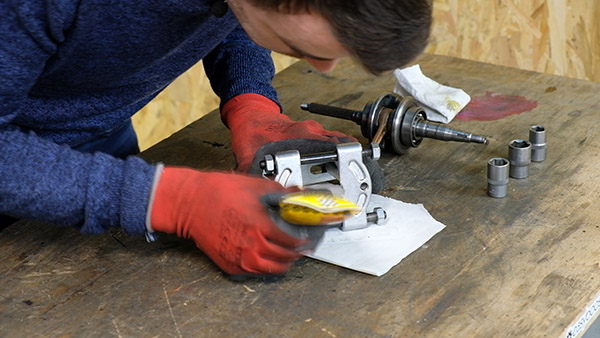
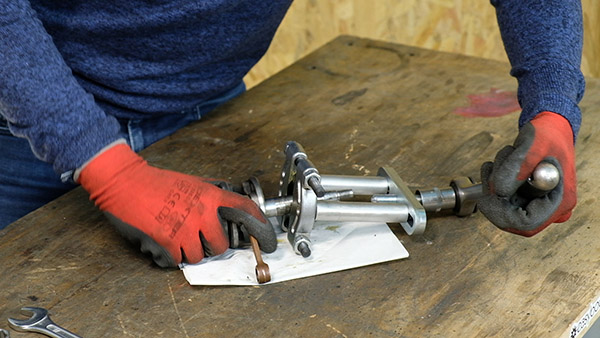
The bearing remover is placed around the bearing to be extracted, then the 2 studs are tightened…
...until the bearing starts to come off the crankshaft.
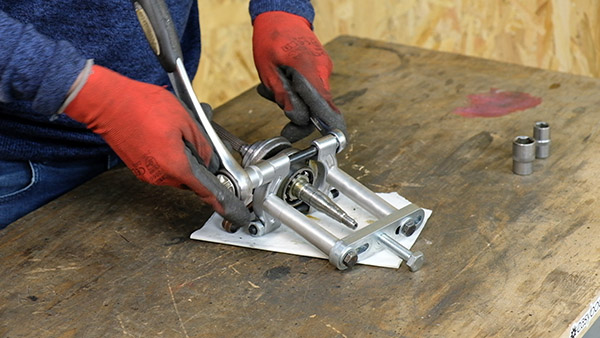
To complete the work, the central screw of the Easyboost bearing puller must be tightened.
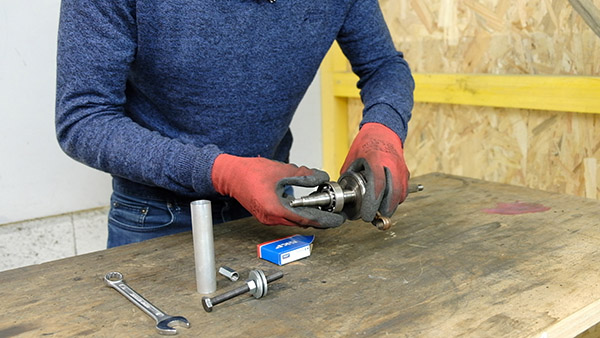
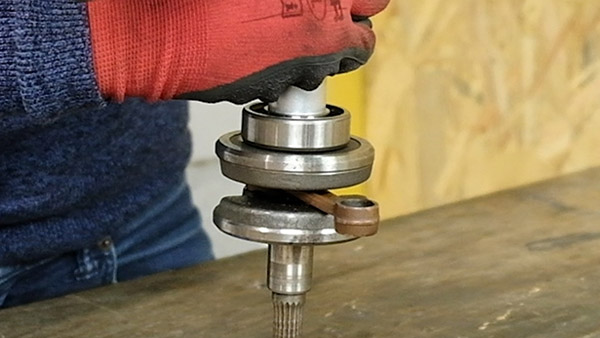
Mount the bearings on the crankshaft
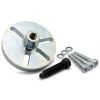
The Easyboost bearing assembly tool is used for the bearing assembly phase. This tool allows the bearings to be mounted smoothly on the crankshaft, easily and safely. The first bearing is placed by putting the bearing writing on the outside.
All that remains to be done is to assemble the Easyboost bearing assembly tool and then tighten the nut in order to "lower" the bearing to the bottom of its housing.
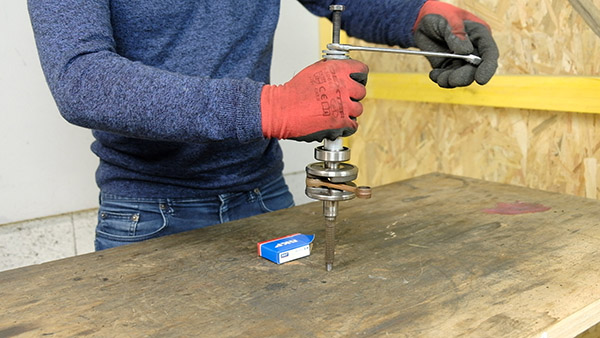
The bearing descends gradually and easily on its housing. The same operation must then be repeated for the other side.
Cleaning the engine crankcases
It is essential to clean and degrease the remains of the old joint compound with a sponge and a little acetone (or equivalent).
Mounting the crankshaft in the engine crankcases
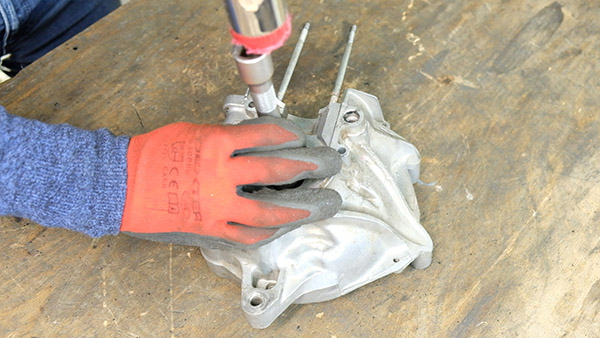
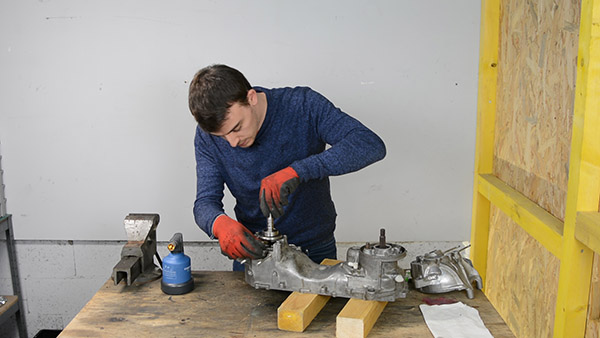
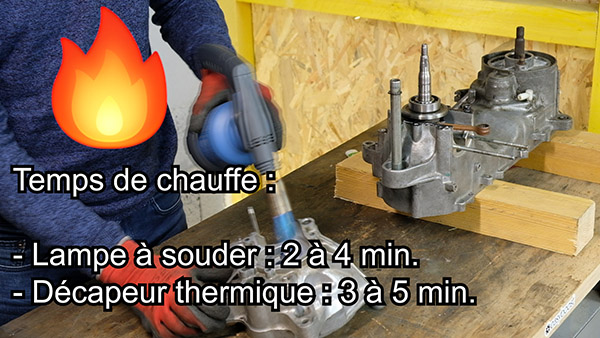
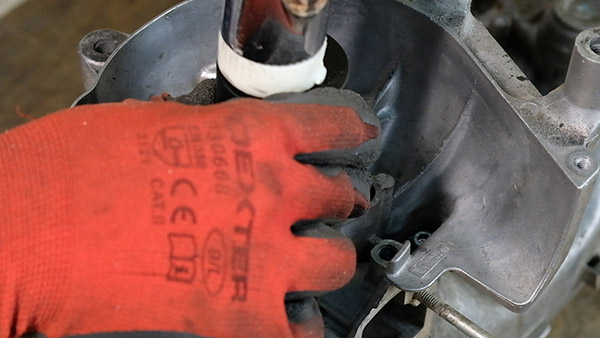
In order to easily mount the crankshaft equipped with both bearings, it will be necessary to heat the bearing housing, starting from the variator side, using a heat gun or a gas lamp for 2 to 5 minutes.
Once the crankcase is heated, the crankshaft is immediately placed in its housing. If the crankcase is properly expanded, the crankshaft will "fall" without forcing into its housing.
Then apply a trickle of silicone sealant and spread it out with your finger or a clean cloth to leave a thin film.
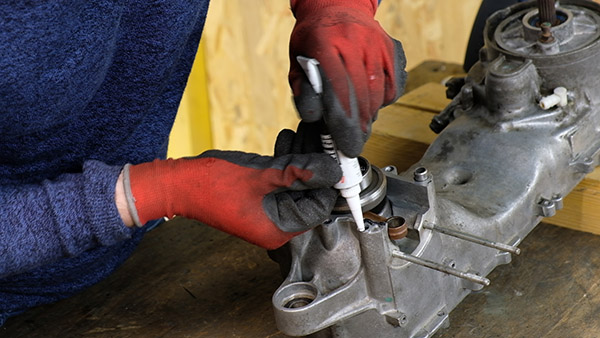
The housing is heated with the gas lamp or heat gun in order to expand it.
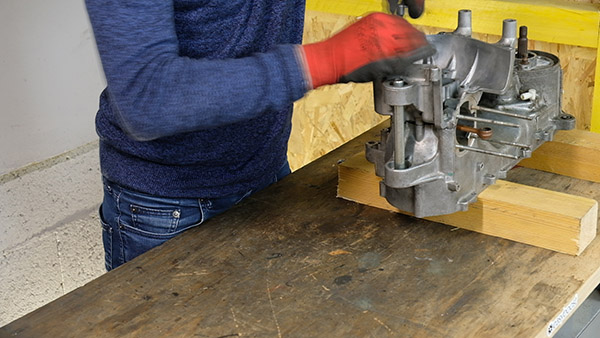
Then, without waiting, the housing on the ignition side is placed over the housing on the variator side. If the crankcase has been properly heated, there is no need to force it.
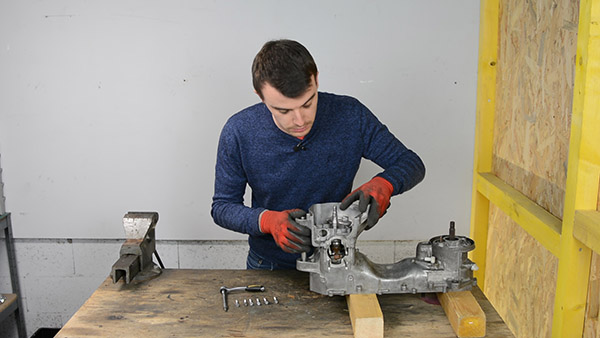
All that remains to be done is to screw in the BTR screws in order to hold the 2 housings against each other.
Install the oil seals in the engine crankcases.
To mount the oil seals in the engine crankcases, a thick layer of grease should be applied to the internal lips.
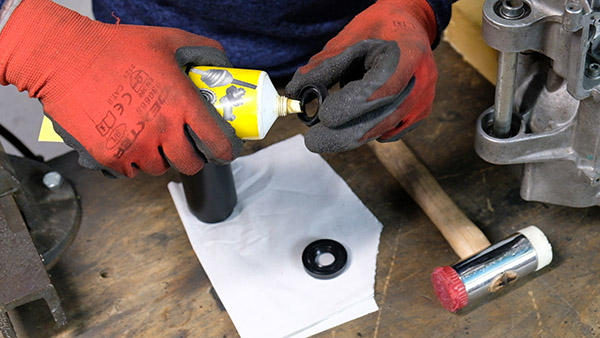
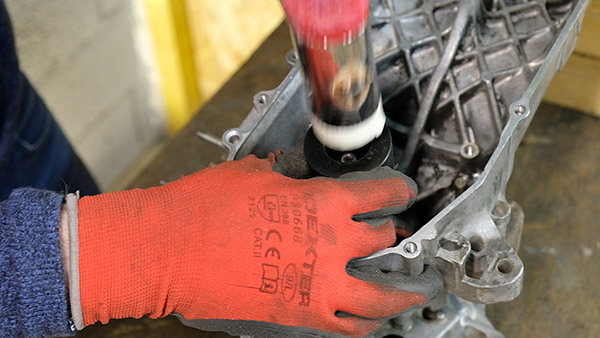
In order to install the oil seals, it is necessary to use the Easyboost oil seals assembly tool for Booster/Nitro. This tool allows a perfect fitting of the spy joints and thus avoids any risk of bearing breakage. Start with the ignition side, by tapping it a few times with a mallet.
Then the same operation is repeated for the variator side.
Reassemble the ignition
All that remains is to carry out the operation in the opposite direction in order to reassemble the various engine components, such as the ignition for example.
The electric starter
As well as the variator
This tutorial is now finished, thank you for following it and see you soon for the next tutorial!
VIDEO TUTORIAL
To go further, here is the complete and very detailed video tutorial on the disassembly/assembly of crankshaft bearings: